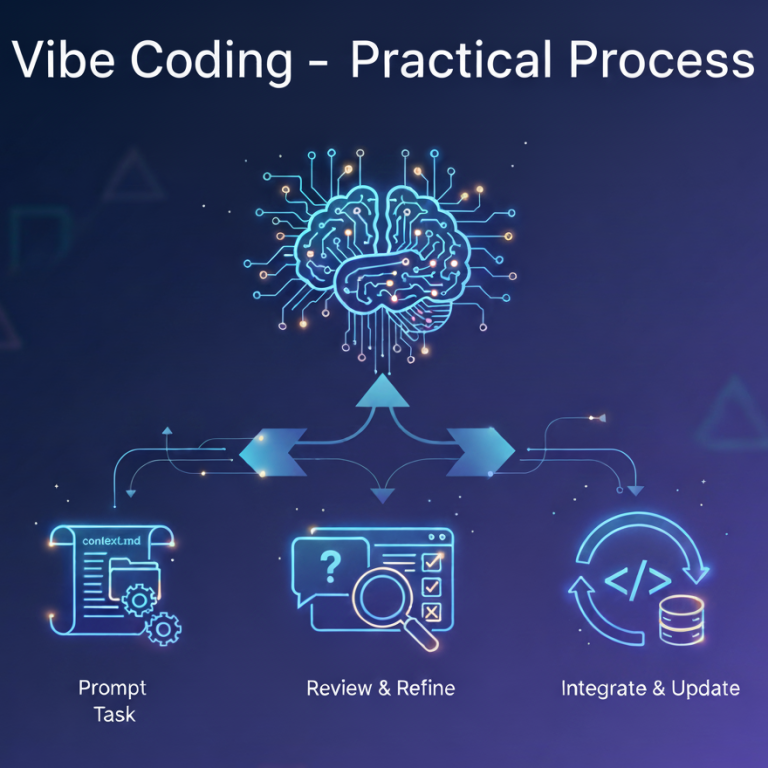
Vibe Coding – A Practical Process
By: Chris Gaskins and Dominick Romano
The initial hype around vibe coding—telling an AI what you want and watching code appear—is seductive. But anyone who has tried it on a project with more than a couple of files knows the magic quickly fades. The AI forgets key components, loses track of the architecture, and starts hallucinating code that is incompatible with your project.
This is because the core challenge of vibe coding isn’t just about prompting; it’s context management at an advanced level. The AI has no long-term memory. Each session is a blank slate, and its “working memory” (the context window) is incredibly small and expensive. If you haven’t read our blog articles, Prompt Engineering vs Context Engineering: Crafting AI for Precision and Managing the LLM Context Window: Operational Data vs. Contextual Data, please do so. These articles will provide a foundation for fully understanding this article.
If you are going to vibe code successfully, you are going to need a practical workflow. A vibe coding workflow isn’t about just talking to an AI. It’s a disciplined process of strategically curating and injecting the exact right information at the exact right time. Here is a practical, scalable process for doing just that.
The Foundation: The Context Manifest
You can’t upload your entire set of project files, so you need a concise, “bootable” summary of it. Instead, create a Context Manifest, a markdown file (context.md) in the root of your project. This file is the “startup sequence” for every new AI session. It ensures consistency and re-establishes the project’s reality without wasting your context window.
A well-structured context.md contains:
- Project Name: A simple unique title for your project
- High-Level Objective: A few sentences describing the project’s purpose.
- Tech Stack & Key Libraries: A clear list of languages, frameworks, and critical dependencies as well as exclusions that should not be used.
- Architectural Principles: High-level rules. (e.g., “State is managed via a Redux-style Pinia store,” “All API calls are routed through services/apiClient.ts” “Components must use TailwindCSS for styling”).
- Project Structure (tree): A high-level view of the directory structure to give the AI a mental map. You can prune this for brevity if the list is too long focusing primarily on subdirectory names. A consistent naming convention further ensures success.
- Key File Manifests: This is the most critical part. For each core file, provide a summary, not the full code. This can be function signatures, class definitions, API schemas, or code documentation files such as JSDoc/TSDoc files or blocks.
Example: Context.md
# Project Name: [Your Project Name]

## High-Level Objective

> A brief, one-to-two-sentence description of what this project aims to achieve. For example: "A web application for tracking personal fitness goals, allowing users to log workouts and view progress over time."

## Tech Stack & Key Libraries

- **Languages**: [e.g., TypeScript, Python]

- **Frameworks**: [e.g., Vue 3, FastAPI]

- **Key Libraries**: [e.g., Pinia for state management, TailwindCSS for styling, D3.js for charts, Axios for HTTP requests]

- **Exclusions**: [e.g., Do not use jQuery, Bootstrap, or any state management other than Pinia]

## Architectural Principles

> High-level rules that govern the project's structure and coding style.

1. **State Management**: All shared application state must be managed via the Pinia store.

2. **API Communication**: All API calls must be routed through the `services/apiClient.ts` module.

3. **Styling**: Components must be styled using TailwindCSS utility classes. Avoid writing custom CSS files.

4. **Component Structure**: Vue components should follow the Composition API using `<script setup>`.

5. [Add other principles as needed, e.g., "All form validation is handled by the Zod library."]

## Cybersecurity Principles

> Guidelines to ensure the application is secure, robust, and trustworthy.

1. **Dependency Security (SBOM)**: All third-party libraries must be added via a package manager to maintain a clear Software Bill of Materials (SBOM). Regularly run audits (e.g., `npm audit`) to identify and patch vulnerabilities.

2. **Access Control & Authorization**: All sensitive API endpoints must be protected (e.g., requiring a valid JWT). Client-side routing guards should prevent unauthorized view access, but server-side enforcement is the source of truth.

3. **Input Validation & Sanitization**: Never trust user input. All data from the client must be validated and sanitized on the backend. Use libraries like `DOMPurify` on the front end before rendering user-generated content to prevent XSS.

4. **Secure Data Handling**: Sensitive information (API keys, secrets) must not be hard-coded in the front-end source. Use environment variables. All API communication must use HTTPS.

## Project Structure (tree)

> A high-level view of the directory structure. Prune file-level details for brevity, focusing on the overall map.

```

/

├── public/

├── src/

│   ├── assets/

│   ├── components/

│   │   ├── common/

│   │   └── views/

│   ├── services/

│   │   └── apiClient.ts

│   ├── store/

│   │   └── userStore.ts

│   ├── views/

│   └── main.ts

├── package.json

└── tsconfig.json

```

## Key File Manifests

> Provide summaries, function signatures, class definitions, or API schemas for core files. **Do not paste full file contents.**

### `src/services/apiClient.ts`

> Manifest for the central API client.

```

// Handles all communication with the backend API.

interface User {

  id: string;

  name: string;

  email: string;

}

export function getUser(userId: string): Promise<User>;

export function updateUser(userId: string, data: Partial<User>): Promise<User>;

```

### `src/store/userStore.ts`

> Manifest for the user state management module.

```

// Pinia store for managing the current user's state.

export const useUserStore = defineStore('user', () => {

  const user: Ref<User | null>;

  const isLoading: Ref<boolean>;

  const error: Ref<string | null>;

  function fetchUser(userId: string): Promise<void>;

  function clearUser(): void;

  return { user, isLoading, error, fetchUser, clearUser };

});

```

### `src/components/common/BaseButton.vue`

> Manifest for a common UI component.

```

<!-- A reusable button component with configurable slots and props. -->

<script setup lang="ts">

defineProps<{

  variant?: 'primary' | 'secondary' | 'danger';

  disabled?: boolean;

}>();

</script>

```
The context.md is an integral part of your project and should be kept up to date to ensure continuity and accuracy with the AI model. Generation and maintenance of context.md can be accomplished manually or use an AI model, especially through the use of tools like RooCode.
The Scalable Vibe Coding Workflow
Initialize the Session with the Manifest
Every time you start a new AI chat for your project, your very first action is to paste the entire contents of your context.md file into the prompt. Below is a suggested initial prompt:
Analyze the following introduction about my code project in order to assist me. <context.md>This “primes” the AI. It now understands the project’s structure, rules, and your immediate goal without having seen a single line of implementation code.
The Task-Oriented Prompt
At this point the AI has absorbed the context and is ready to go to work. Your next prompt provides detailed instructions about the task to be accomplished:
Your first task is to implement the user profile page (`src/views/UserProfile.vue`). This component should: 1. Fetch user data on mount using the `useUserStore`. 2. Display the user's name and email. 3. Show a loading indicator while the data is being fetched. 4. Handle and display any potential errors from the store. Please generate the code for the component as described. Make sure to use the Composition API and TailwindCSS for styling.The AI will now generate code that is far more likely to be correct and consistent with your project’s architecture.
Surgical Context Injection & Refinement
The AI might need more information. It could ask, “What should happen while the summary is being generated?” or “How should I handle errors from the API call?”
This is where you inject specific, small pieces of code. Do not paste whole files.
We will need a loading state. When the 'Generate Summary' button is clicked, it should become disabled and its text should change to 'Generating...'. If the generateSummary function throws an error, display an alert with the error message. Here is the implementation of the  component for style reference:

> <template>

  <div class="p-4 bg-gray-100 rounded-lg">

    <h3 class="text-lg font-bold">Summary</h3>

    <p>{{ summary }}</p>

  </div>

</template>

<script setup>

defineProps({ summary: String });

</script>
This is a few-shot prompt. In this example, a small, relevant example of existing code is provided to guide the style and structure of the new code. This illustrates how to surgically manage the context, only providing what is absolutely necessary for the task at hand.
Validate, Integrate, and Update
Once the AI generates code you’re happy with:
- Validate: Run the code. Test it.
- Integrate: Copy the code into the new file in your actual project.
- Update the Manifest: This is the most important step. You must update context.md to reflect the new reality. Add the new file to the structure section and include its manifest in the file manifest section.
By keeping the manifest religiously up-to-date, you ensure that every future AI session starts with an accurate, high-level blueprint of your entire project. Your context.md evolves with your codebase.
Review: A Simple Vibe Coding Process

This disciplined workflow transforms vibe coding from a fun toy for small scripts into a powerful, scalable methodology for building and maintaining large, complex applications. Your role evolves from a coder to a system architect, directing a powerful but forgetful assistant with precision and foresight.